To add a new user, start by going to Administration>New User from the main menu.
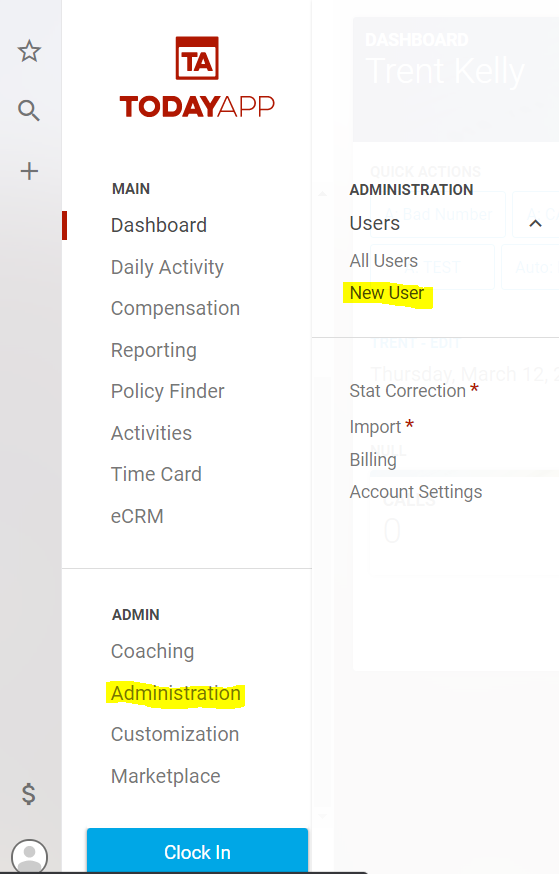
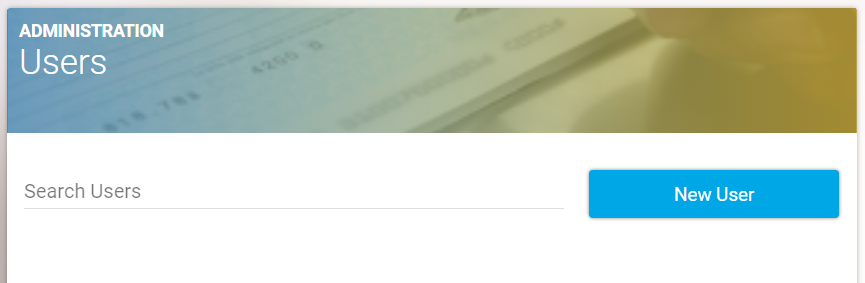
Next, select “New User,” and you will be redirected to a New User page.
Enter the information into the given fields for the new user. Email Address/Username, First Name, Last Name, and Time Zone are required.
Then select a role at the bottom of the page if applicable:
ASSIGNING ROLES
There are only four possible roles: Admin, Manager, Issuer, and Compensation. A user can be assigned to as many roles as they need or none at all. If a user doesn't have a role, they are either a regular user or the account owner.
The Admin role gives access to all features and has the same permissions as account owners. You would only want to assign this to administrative personnel.
The manager role gives greater access and permissions to a regular user to help give greater support and manage team members. For example, a manager can: Issue Sales, access all reports, edit, add, or remove marketing sources. A manager cannot: Add/Remove/Edit other user profiles, assign goals or scripts, or access customization (i.e. Goals, Products, Actions, and Categories)
The Issuer role gives a regular user the ability to issue policies via the Policy Finder. If you are using ECRM Integration, the Issuer will be able to Import Closed Won updates that in turn Issue policies in the Policy Finder.
The Compensation role gives a regular user access to view/run compensation for all team members. This contains financial information for all users, so it should be assigned sparingly.
_____
The remaining fields allow you to note allotted Sick Time, PTO, and Base Pay. Please note that Sick Time and PTO are not factored into Time Card Calculations and do not limit the user's ability o enter Sick Time or PTO. These fields are for note-taking purposes only.
Base Pay, if noted, will show on the pay reports as the total monthly figure for that user.
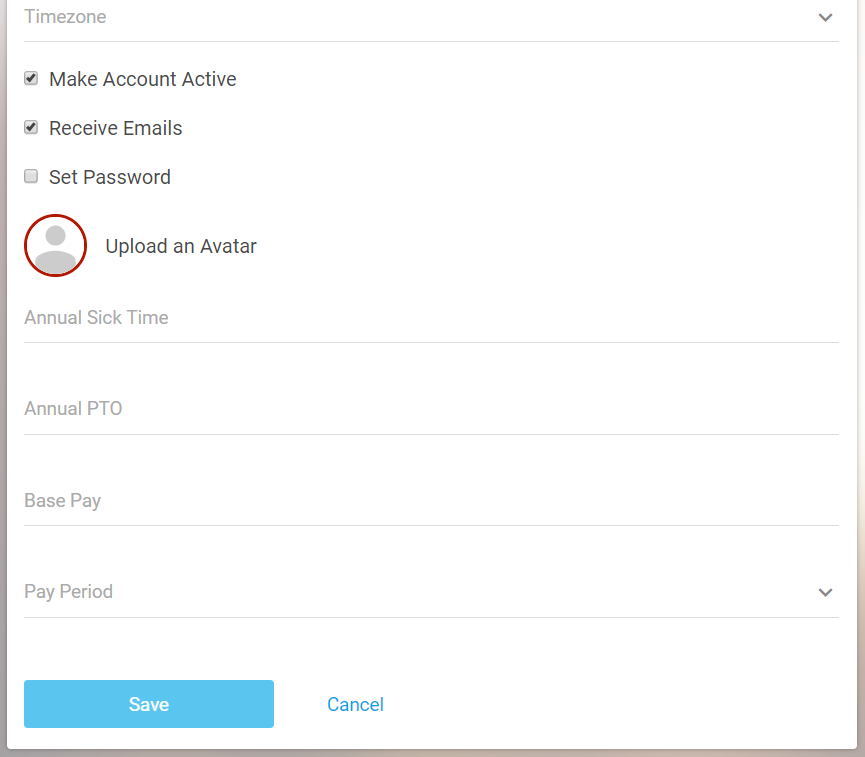
Once the fields are filled out, click the “Save” button to submit the form. This will create a new user and redirect you back to User Management.
Finally, if your account has been set up for integration, you can go back into the user profiles to connect a user's TodayApp profile to ECRM. To do this, open up the user's profile and select the drop-down menu called ECRM Users and select their name for each office code > Save at the bottom. This connection must be made for the user to receive data from ECRM.